As part of her job as a 2nd grade teacher, my fiancee has traffic duty every day after school. In order to save parents and children from themselves, she's forced to strain her voice with commands that really should be common sense.
Something had to be done.
Introducing Ms. Yang's "Bully Horn".
Original Photoshop concept paintover.
Based off of a Pyle PMP30 Professional Megaphone, the "Bully Horn" needed a little bit of style. We decided on a pink glitter paint scheme, with rhinestone trim around the edges and her name.
After 3 coats of pink glitter paint and 3 coats of clear.
After disassembling the megaphone and masking off non-paint areas, I whipped out the DIY spraybooth and applied 3 coats of glitter paint and 3 coats of clearcoat.
Semi-sealing the gaps before wet-sanding.
It's not a 100% seal, but I used painters tape to help keep the water out of the battery compartment.
Wet sanding in the bathroom sink.
The "Bully Horn" was wet-sanded with 1000 then 2000 grit sand paper. Special care had to be taken for undercuts and hard angles.
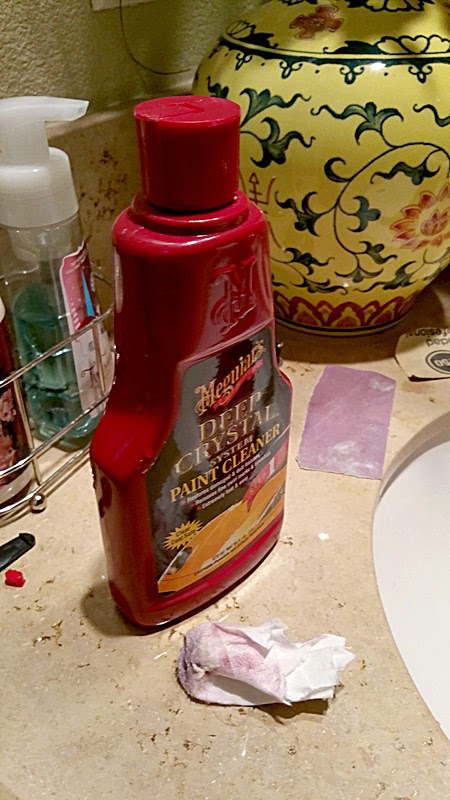
Meguiar's Paint Cleaner.
After the wet sanding, I used left-over Meguiar's Paint Cleaner to polish and clean up the micro-scratches left by the 2000 grit paper.
Reassembly of glittery-shiny "Bully Horn".
The "Bully Horn" was then reassembled to check for gaps in the paint, especially around the hinge area. There was a bit of white still showing, so I touched it up using a nail polish brush.
Vinyl decals applied.
The decal was designed in Adobe Illustrator and cut using a Silhouette Cameo 2 personal plotter (that we named Cutter-Bot).
Rhinestones around the vinyl decal.
The Silhouette Cameo 2 also came with a wonderful software that could create rhinestone templates. Great for aligning rhinestones to vinyl decals cut from the same machine. For the stencil, I used a matte black removable vinyl that you can see in the background.
Individually hand-placed rhinestones.
Each rhinestone was hand-placed and glued on using Gorilla Super Glue. I found the quickest method of application was to create a small pool of glue to dip the rhinestone in, then immediately place it where it needs to go.
Happy fiancee with 30 watts of vocal power.
After 2 months on and off manual labor (most of which went to hand-placing the rhinestones), this 2nd grade teacher is now armed with 30 watts of voice amplification power. All for the purpose of keeping children (and their grown up versions) safe from themselves, of course.


